Create a Product
Products are the fundamental elements of your Webround Commerce store. They represent entities that can be displayed to customers and can branch into multiple purchase options through Variants.
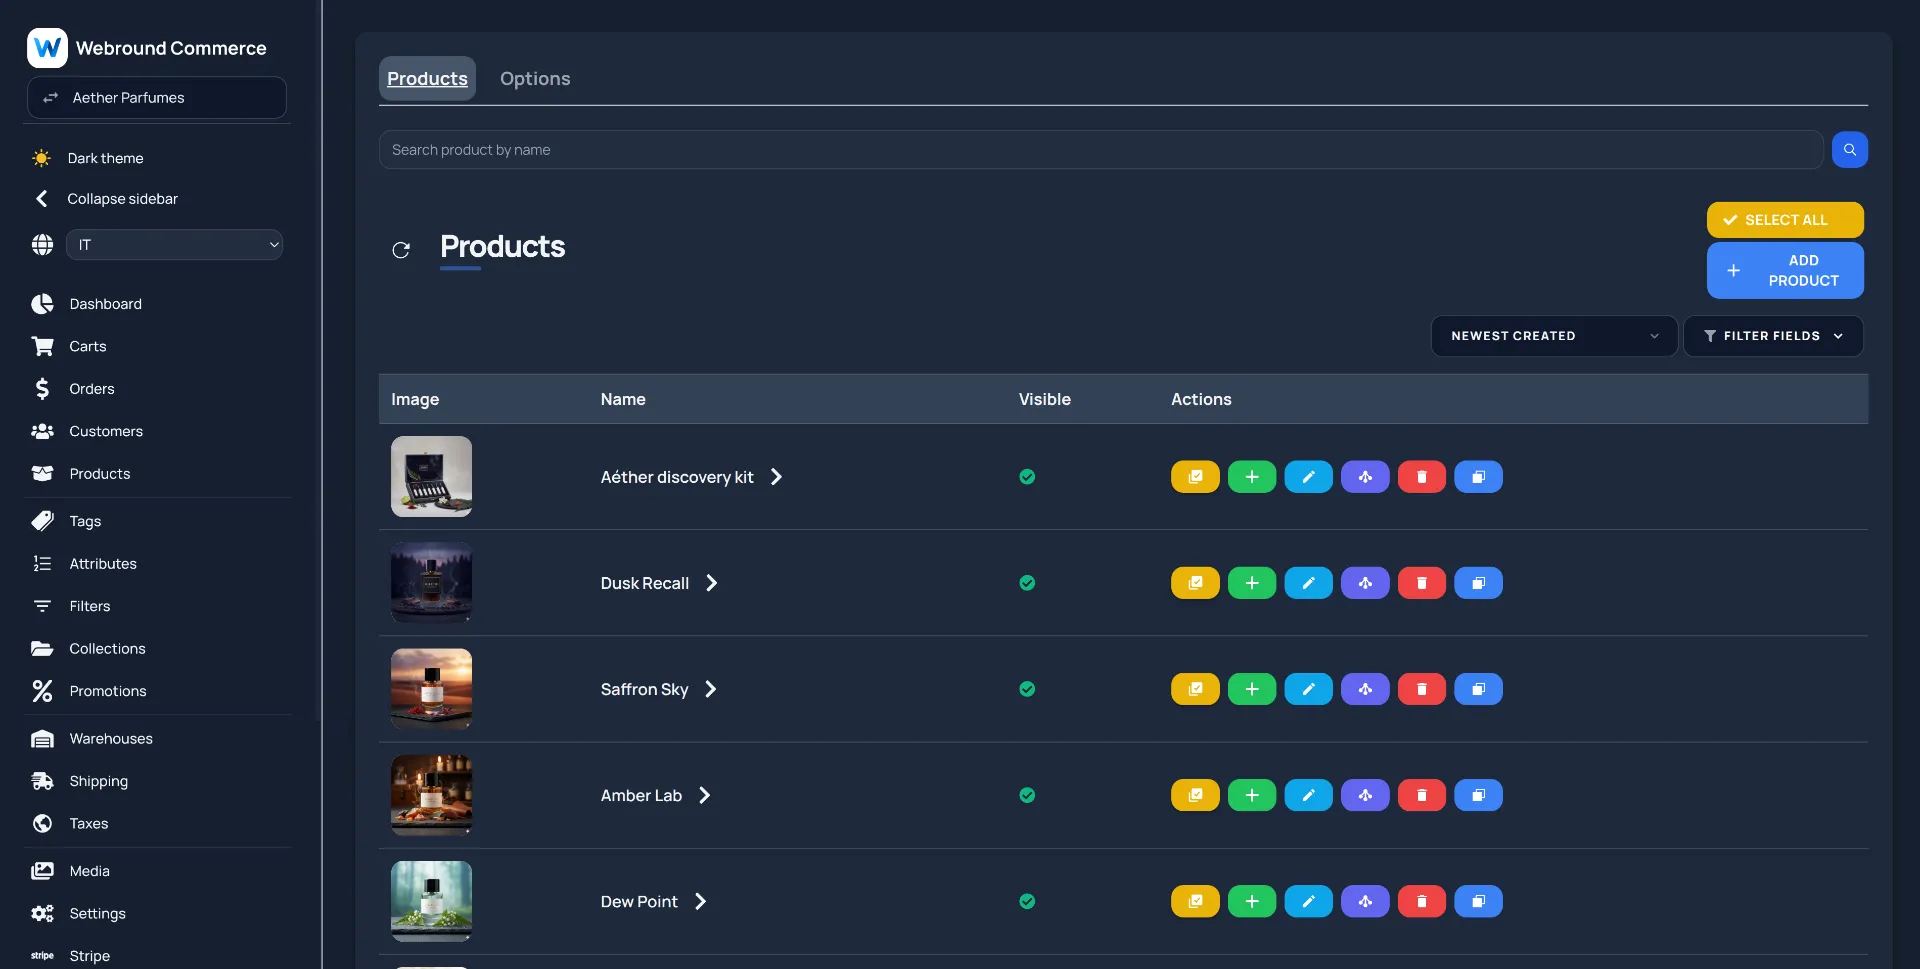
Click the blue button in the top right to create a new product.
Enter all the details in the form and click the blue Save button. Along with the product, a default variant will also be created automatically.
After creation, you can use the edit button to add further details to the product such as linked images, tags, attributes, or available shipping methods.
Create a Variant
Variants are essential for enabling sales and tracking inventory units. Without a variant, you cannot display a price and, consequently, cannot make sales for that specific product.
If your product has a unique configuration and there are no different purchase options available, you can use the default variant to specify a price and inventory units.
To create a variant, use the green button next to the product for which you want to create a specific variant. If you have many variants to generate, you can use the variant generator, available via the purple options button.
In the following example, let’s assume your store sells perfumes and you need to offer different sales formats (e.g., 50ml and 100ml).
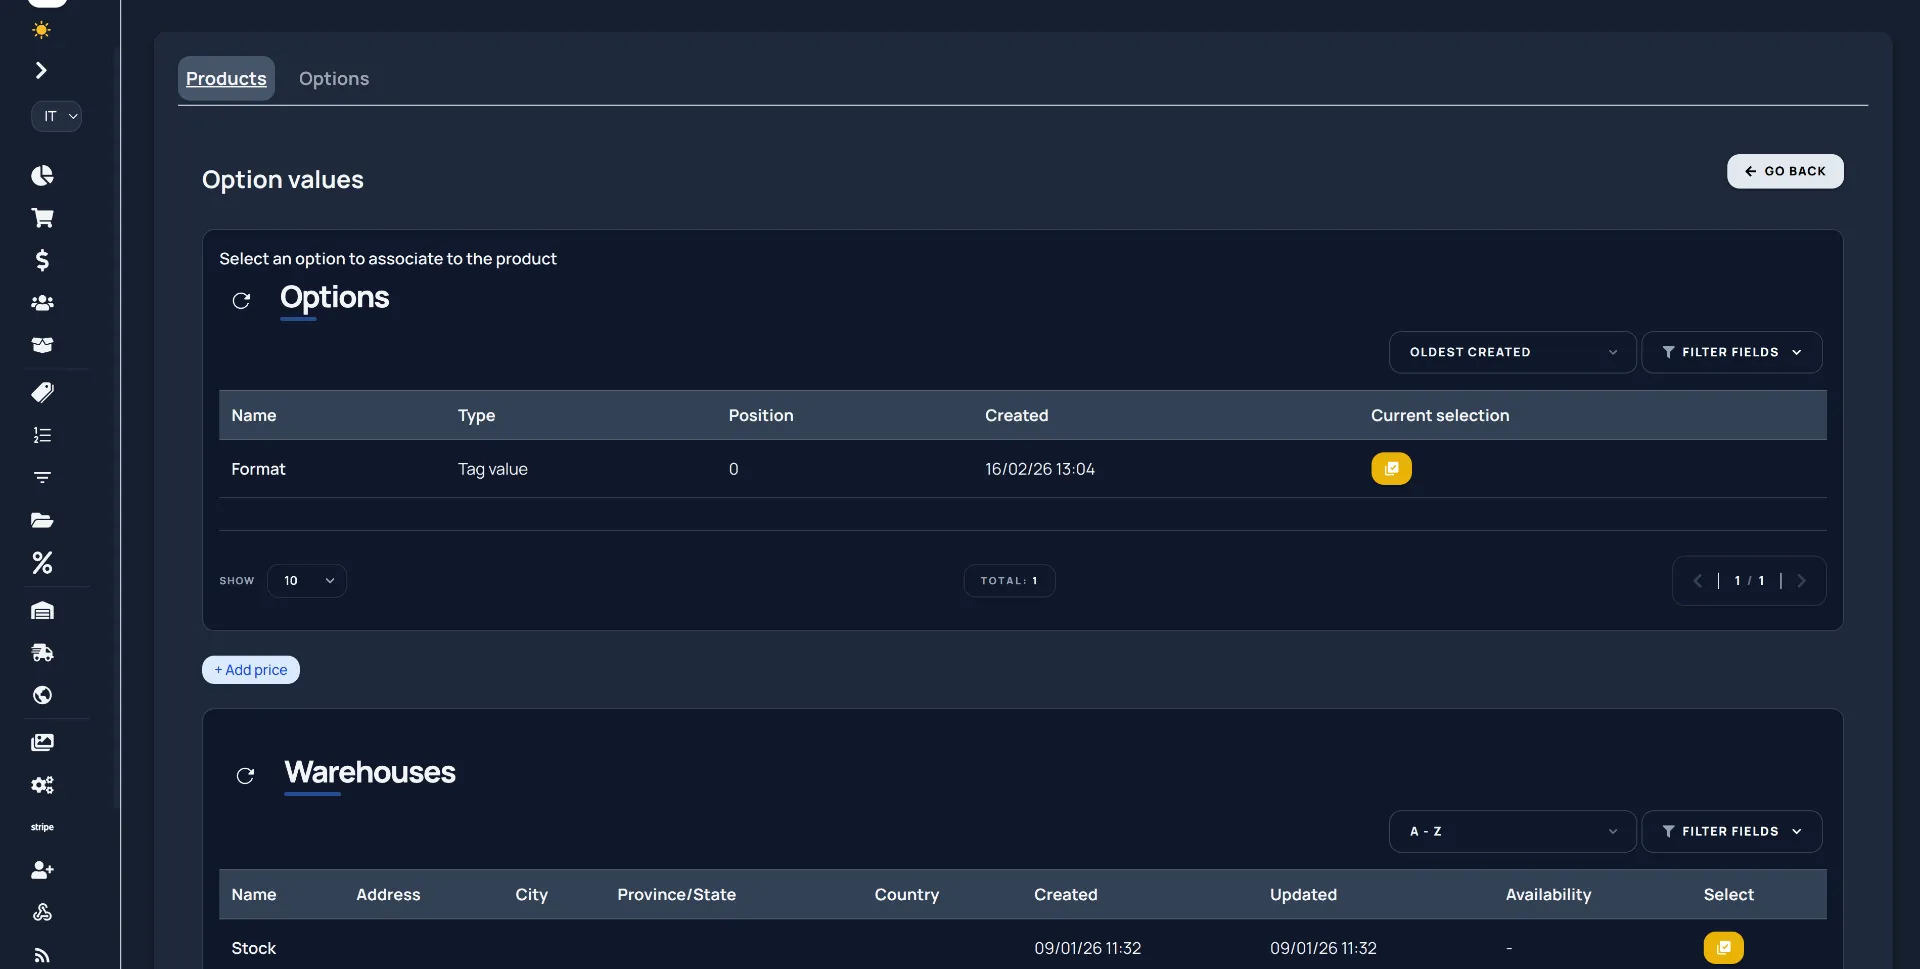
If you have not created a specific option yet, use the Options tab to create a group of values that can be used to determine a sales option.
Select the options you want to link to the product and proceed by optionally adding one or more prices and the available inventory units.
Make sure to create Tags that represent the specific options for the variants. This way you can link the Tag Values to the chosen option.
Example: for two format options of 50ml and 100ml, you will need to create a "Format" option, a "Format" tag and two Tag Values "50ml, 100ml", so that they can be linked to the "Format" option on the specific product.
Review the preview of the variants that will be generated based on the selected options and proceed. You have automatically generated multiple variants. This tool is very useful when you have many variants to create.
Automatic generation is optional. You can also simply define the purchase options on the product and then proceed with manual assignment.
Manual Option Assignment
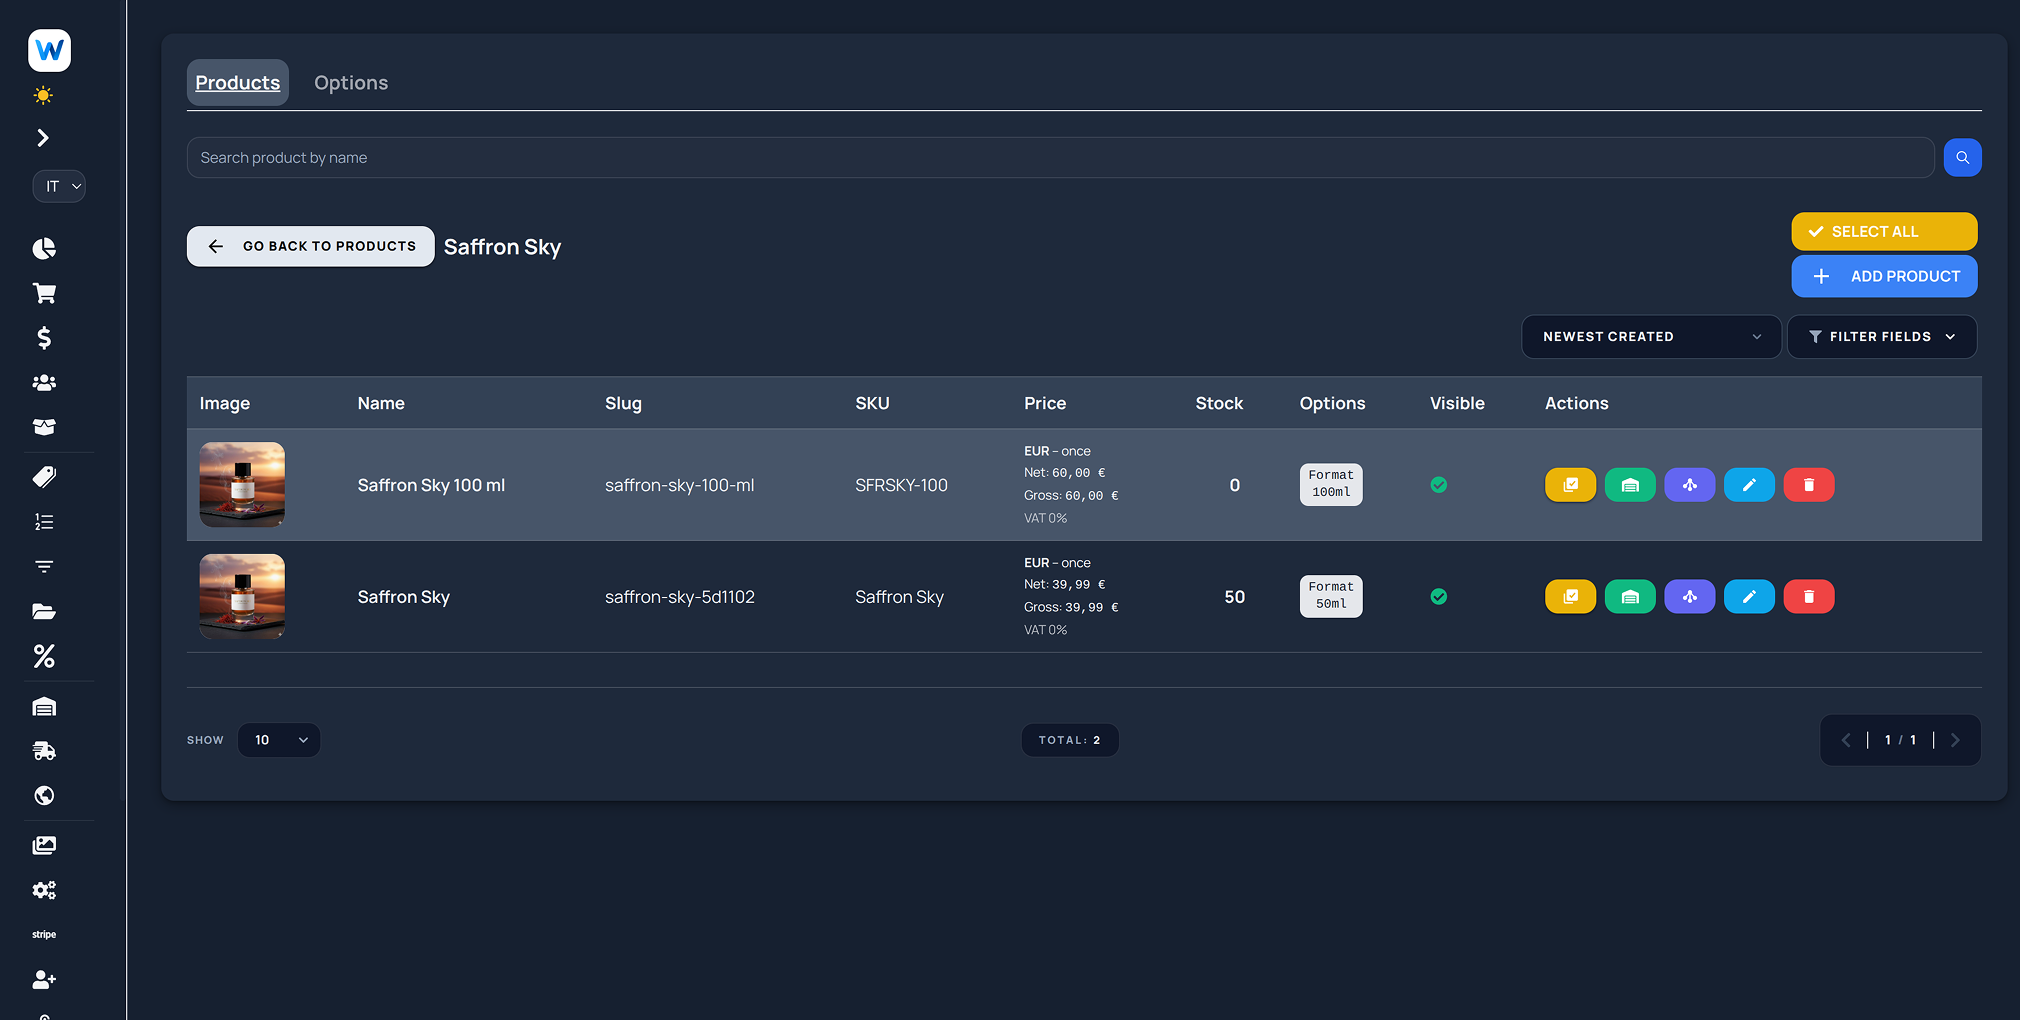
To manually assign options to a variant, define the available options on the product as shown above. Then, from the products page, go to the desired variant.
Here you will find the same purple options button, through which you can select the individual choice for each option, in order to manually identify the variant.
Here is an example:
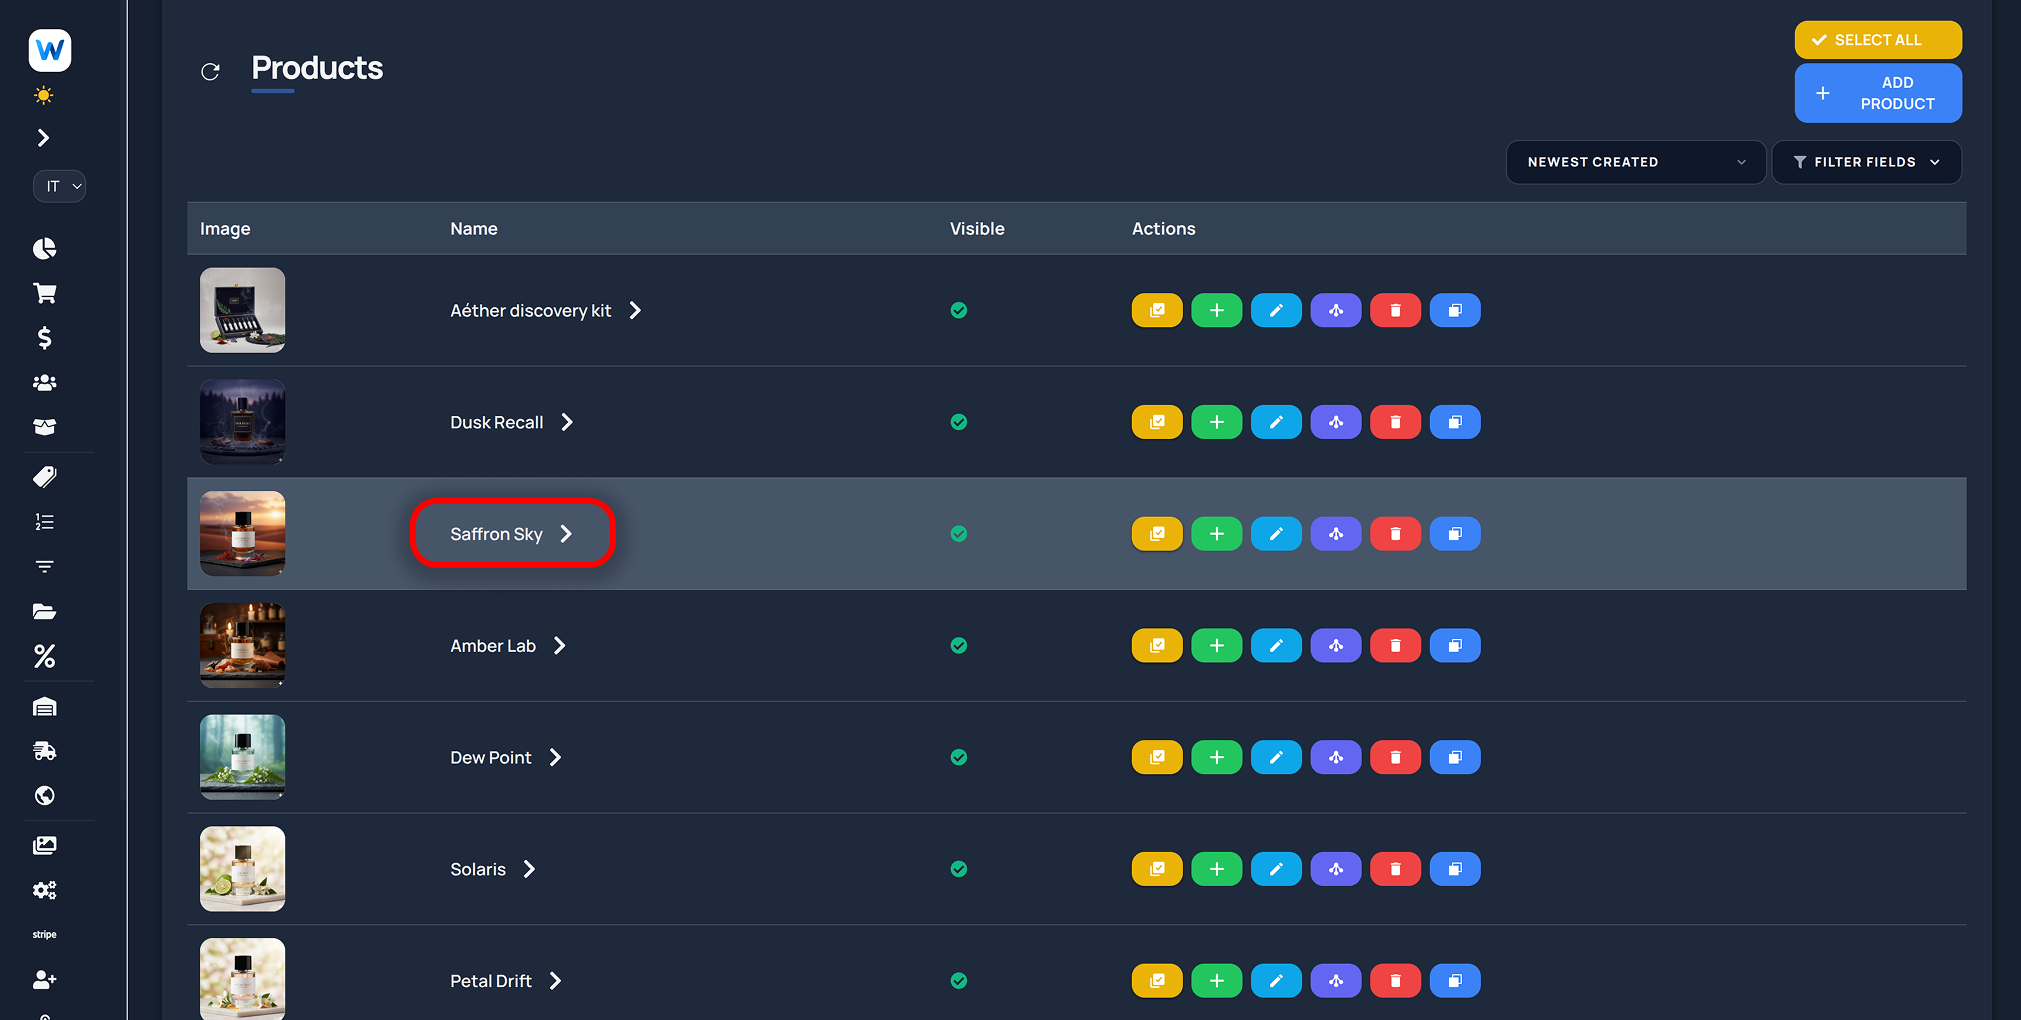
Go to the products tab and select the product of interest. Click on the name or the arrow to navigate the hierarchy Product → Variants.
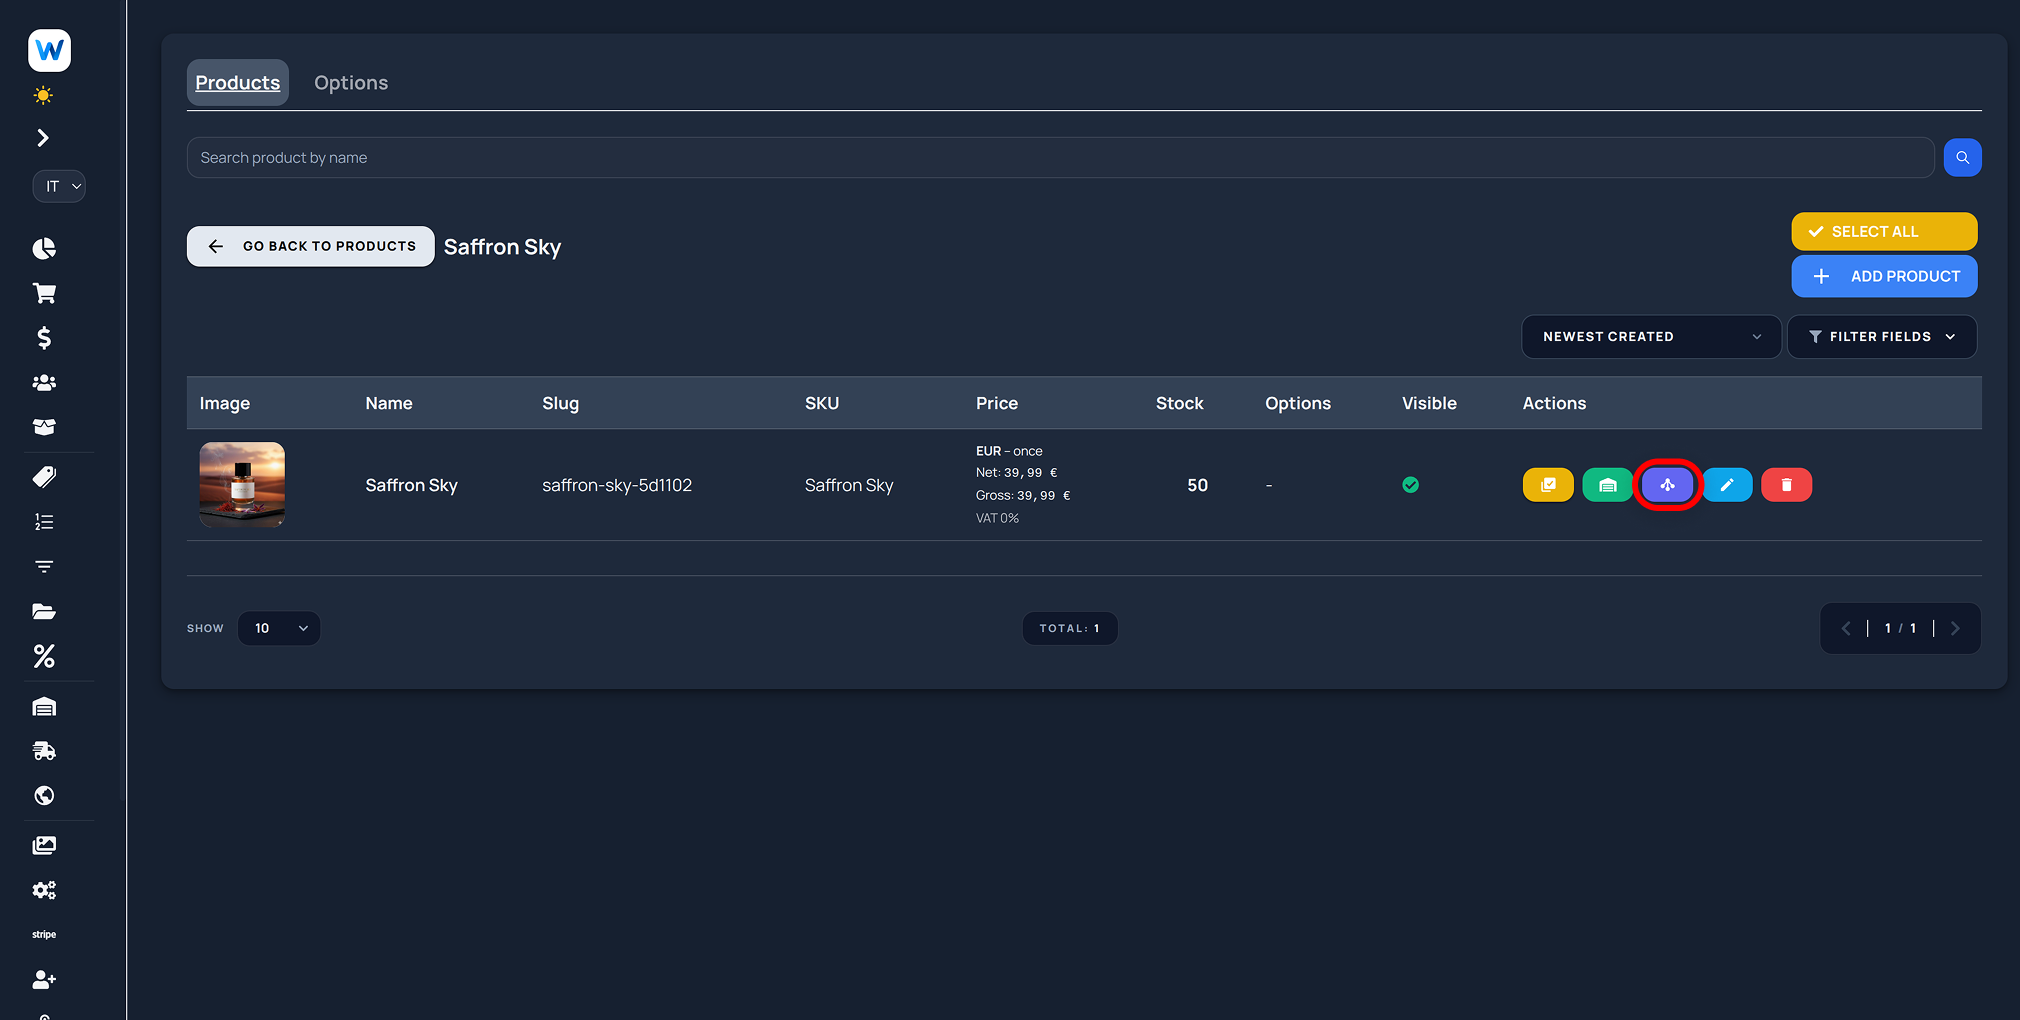
Select the variant of interest and access the options menu .
Choose the correct combination of options and save.
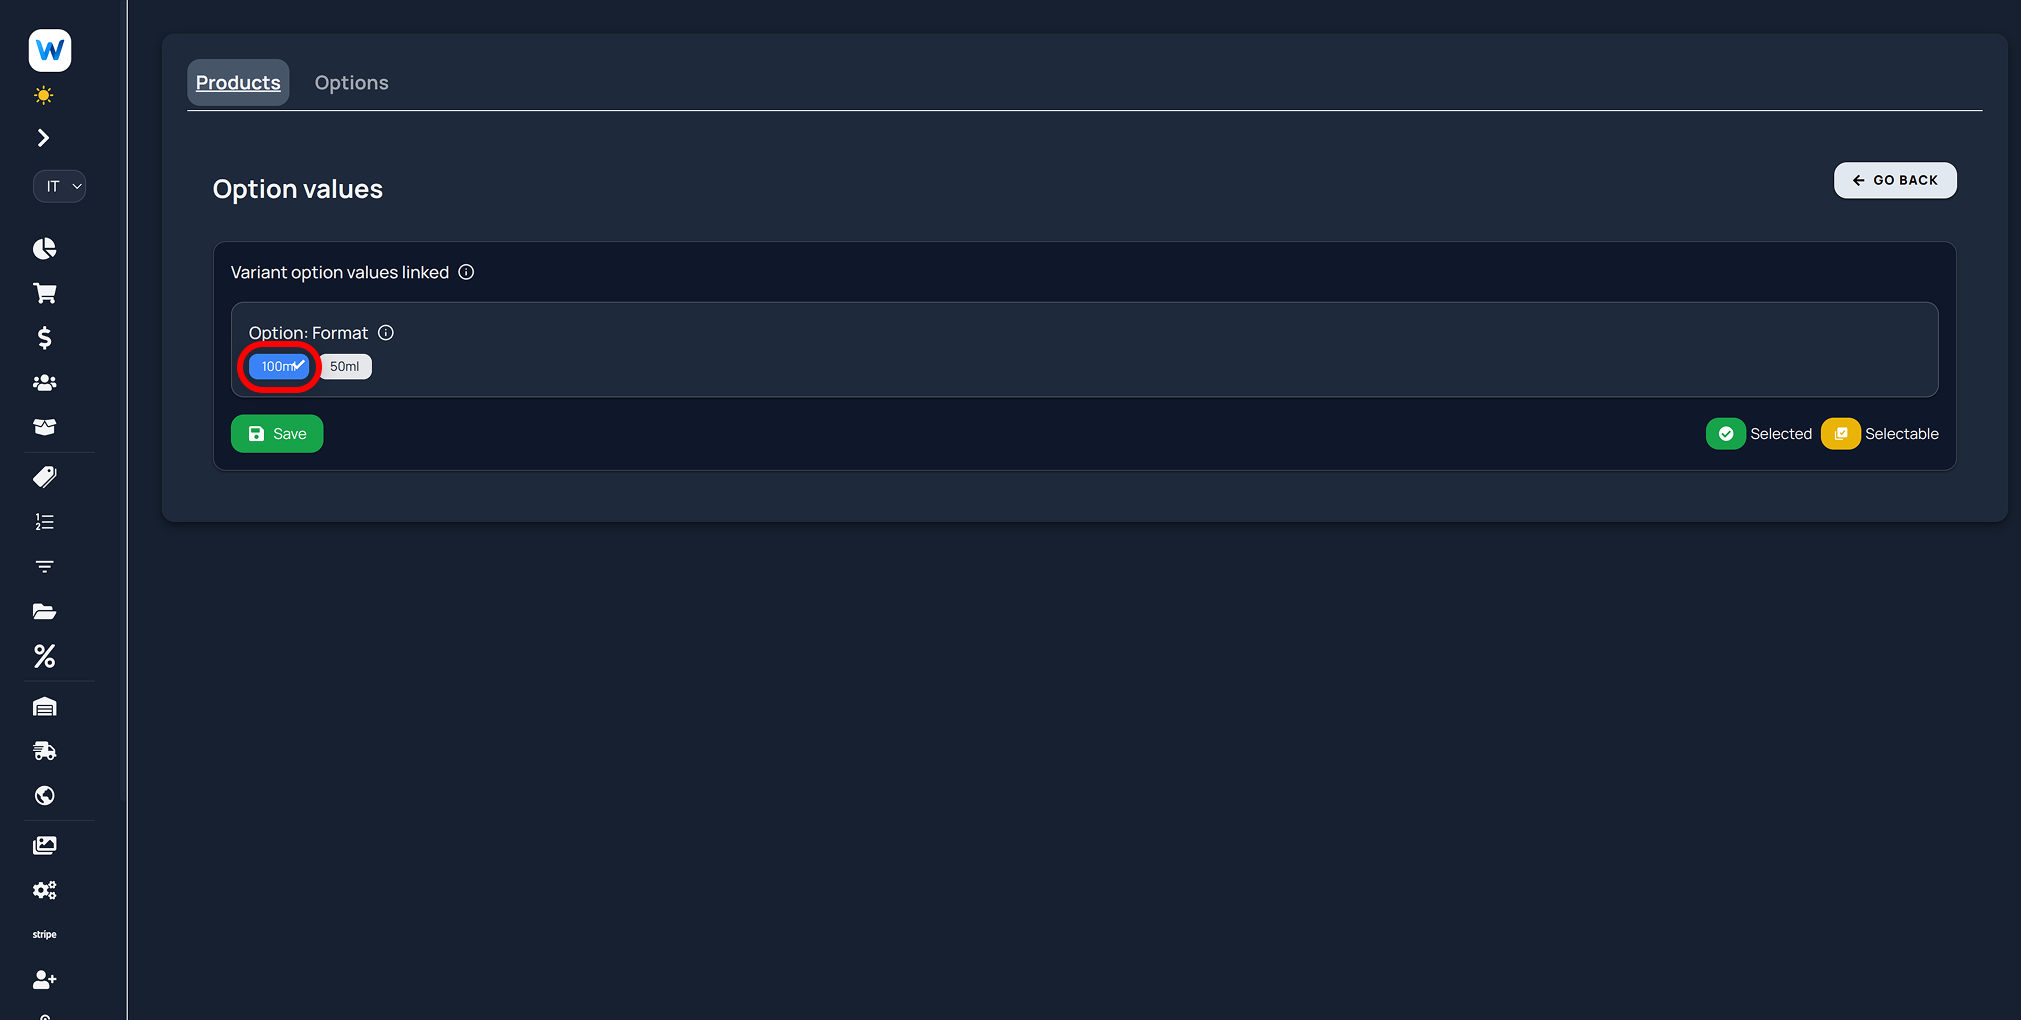
Select the option to use for this variant
You have just configured a specific choice for your variant. By creating multiple options and linking different variants to each option, you can create a configuration tree for your products that differentiates each variant with a specific choice that the user can select on your site.
You can also specify multiple option levels. For example, for clothing stores, it can be useful to specify a Color option and a Size option: your customers will be able to choose the color and size of the item.
Assign a Price to a Variant
To assign a price to a product, you must specify it on the variant. If multiple variants share the same price, you must still specify it individually on all of them.
Navigate to a variant and select one. Use the edit menu via the light blue button.
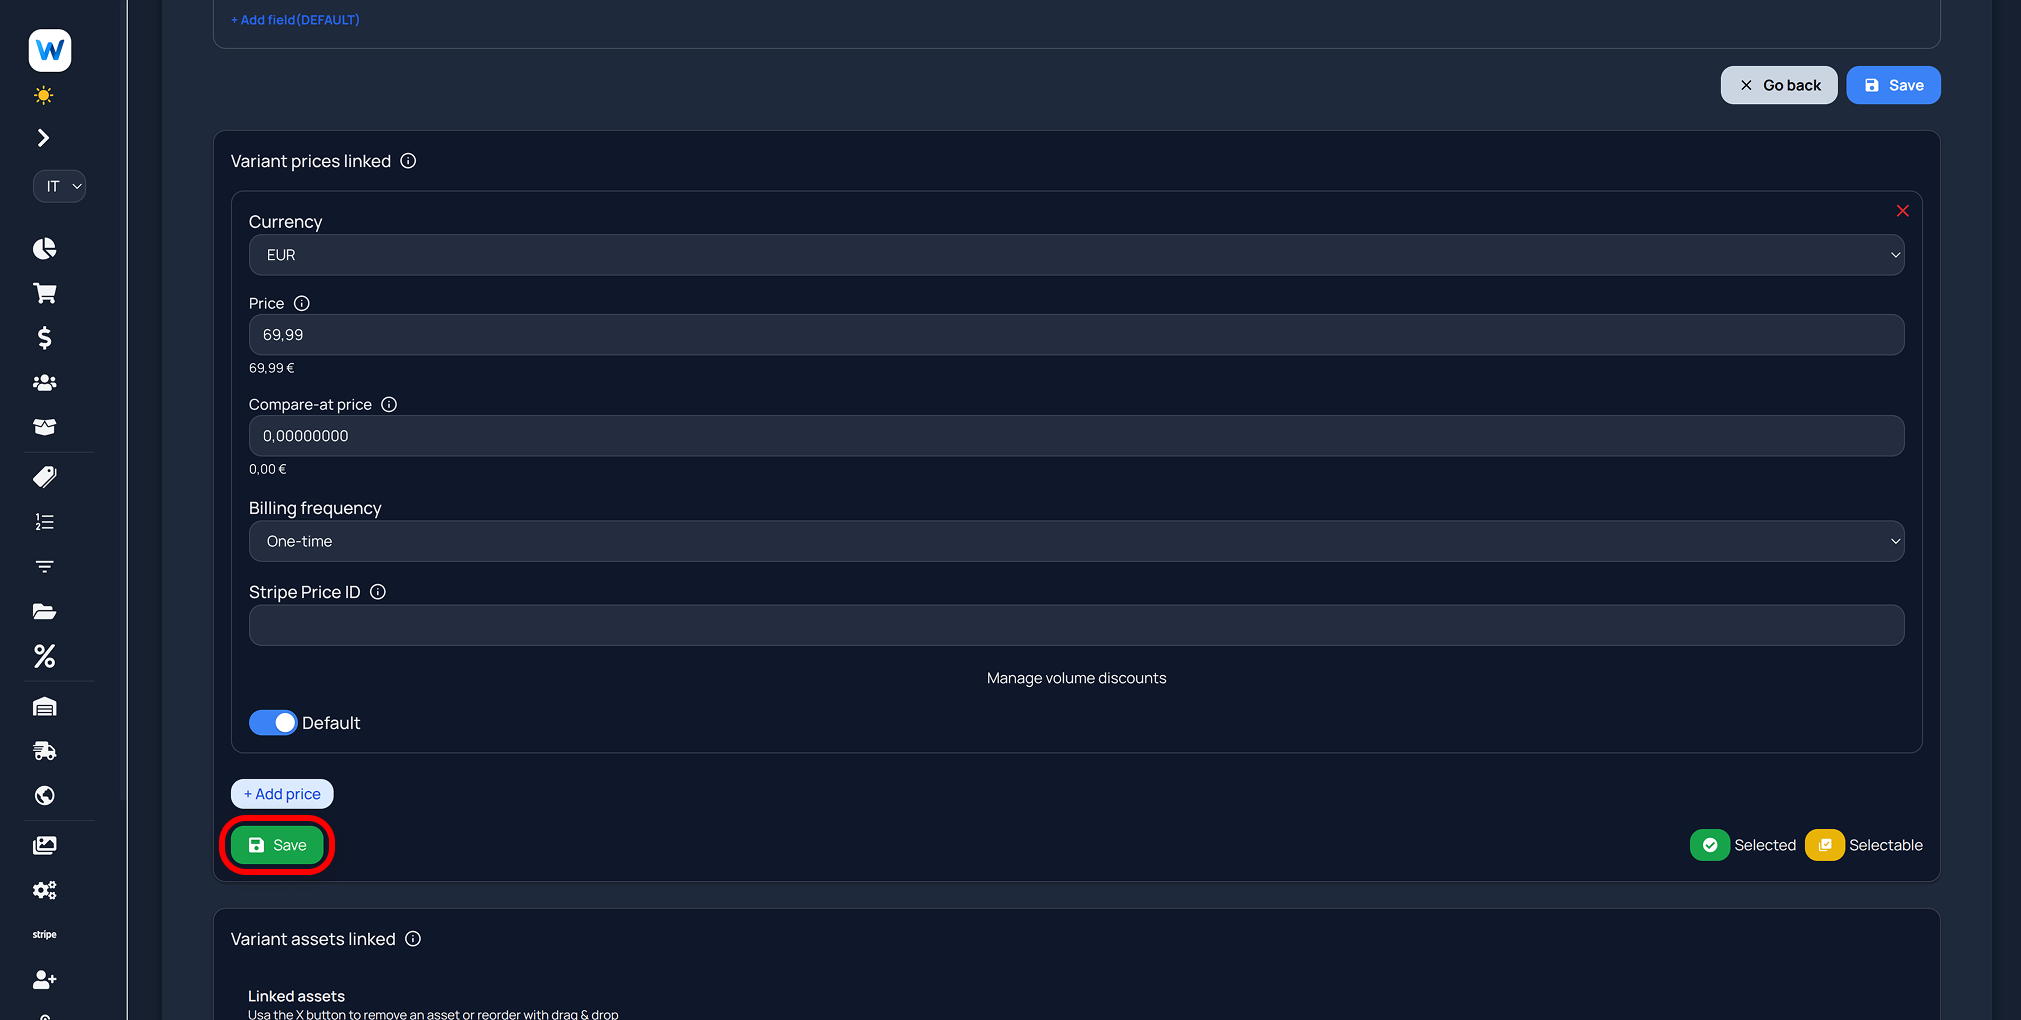
Define the price. When finished, click the green save button.
Do not use the blue save button to save the price. It will not work.
Each section has its own specific save button. In this case, the green button is the only one that saves the price on this variant. The blue button, on the other hand, saves the variant details but not its relationships with other entities, such as prices, tags, attributes, etc.
Change Inventory Availability for a Variant
Each variant has a specific stock that is automatically updated upon sale, if your configuration allows it.
To manually change inventory availability, follow these steps.
Select the variant of interest and access the inventory management menu with the green button.
Remember to create at least one warehouse to manage availability. If you do not create a warehouse, you will not be able to update the availability of your variants.
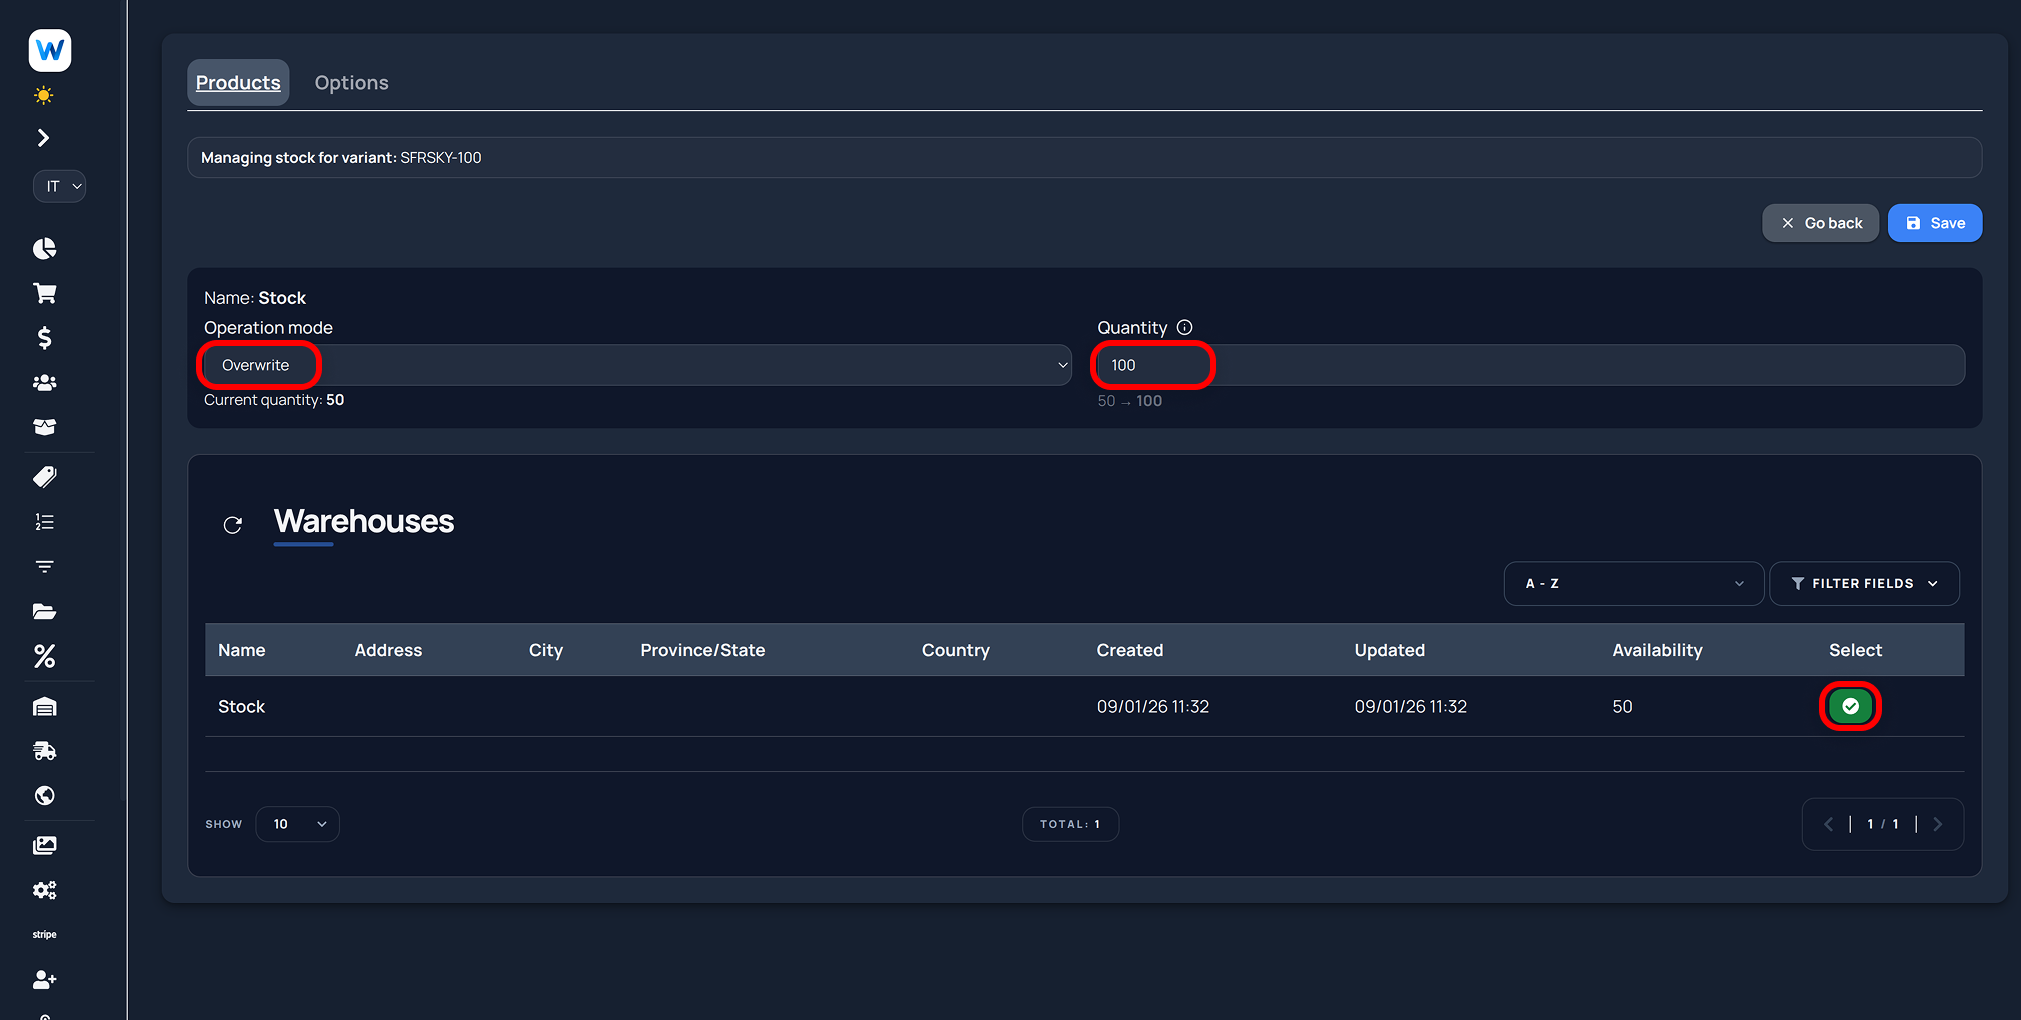
Select the warehouse with the yellow button. The selected warehouse will show the green icon.
Use the different modes to update stock quantities. You can overwrite, increase, or decrease the available quantities from the current ones.
Click Save and you will have updated the inventory availability for the specific variant.